A Beginner's Guide to Photographing Sunflowers at Golden Hour
Sunflowers and late light were made for each other. The heads turn to gold, the fields go amber, and even a phone camera can produce something that looks like a memory rather than a snapshot. But golden hour is also short, and it behaves differently from midday light — softer, more directional, and far less forgiving if your exposure is off. This guide covers the settings, the angles, and the small decisions that make the difference between a flat record of a flower and a photograph you want to print.
Before you touch a dial, watch where the sun sits relative to the plants. This matters more with sunflowers than with most subjects, because of a quirk in how they grow. Young heads track the sun across the sky, but once a sunflower matures and the stem stiffens, the head locks roughly toward the east. In the evening, that means the faces are pointed away from the setting sun.
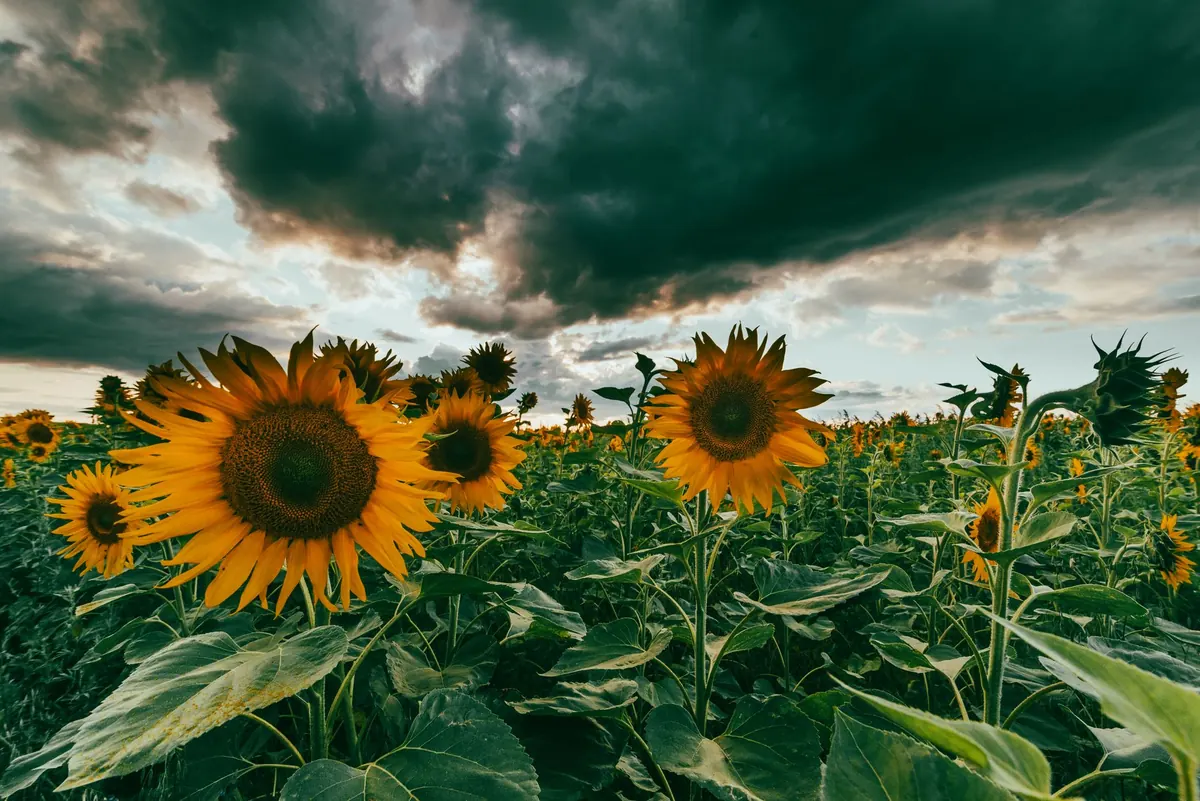
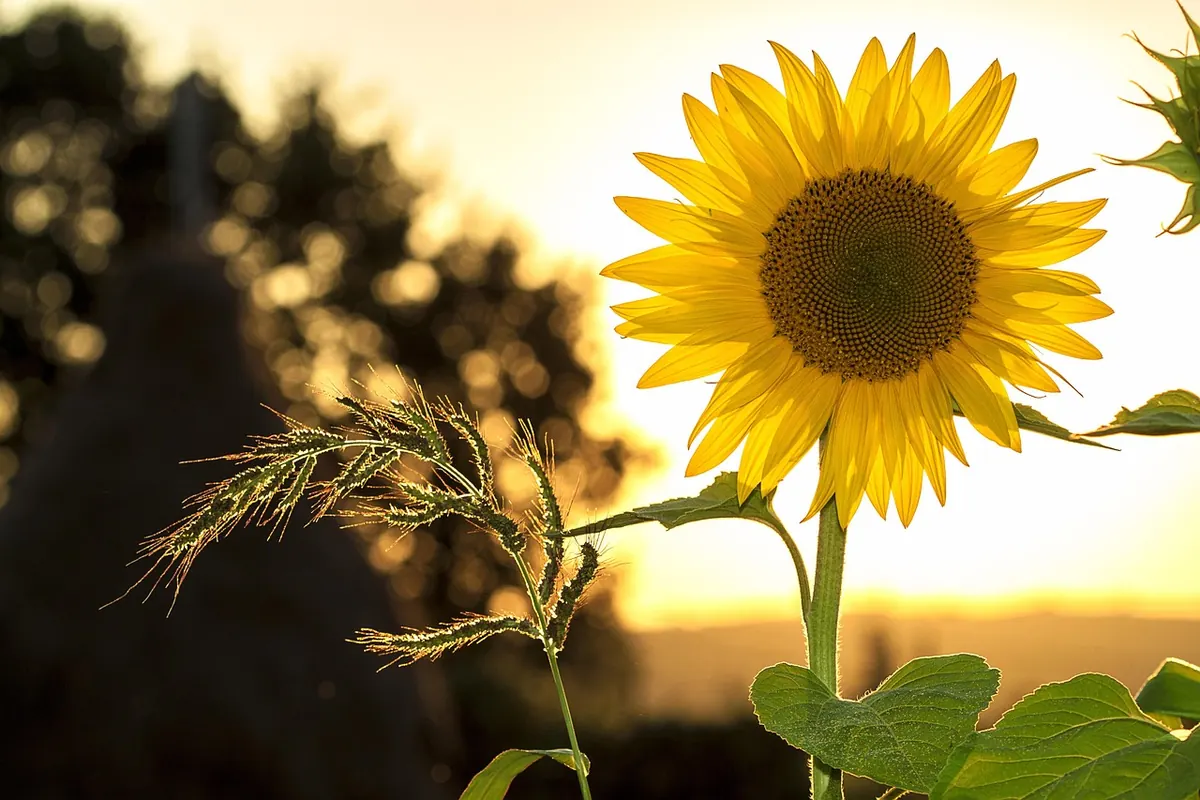
You have two good options. The first is to shoot into the light. Stand so the sun is behind the head and slightly to one side, and the petals turn translucent, glowing at the edges while the face falls into shade. That rim of light is the classic sunflower image, and it works because the shape of the flower reads clearly even when the surface is dark.
The second is to come back at sunrise, when the low eastern light lands directly on those east-facing faces. Faces lit, sky behind, dew still on the leaves. If you only have one session available, evening backlight is the more dramatic choice; morning front light is the easier one.
Side light — sun at roughly ninety degrees to your subject — is the compromise worth hunting for. It rakes across the seed head, shows the texture of the disc, and keeps some detail in the petals without blowing them out.
Golden hour light fades measurably every few minutes, so set yourself up with a starting point you can adjust rather than a fixed recipe. For a single head in soft evening light with a DSLR or mirrorless body, these are sensible opening values:
When you shoot into the sun, your camera will try to protect the bright sky and give you muddy, grey flowers. Switch to spot or centre-weighted metering, aim at the lit petals, and then pull exposure down by about two-thirds of a stop. Check the histogram: if the right edge is clipping in the sky, that's often acceptable, but clipped petals lose all colour and cannot be recovered. When in doubt, expose for the flower and let the sky burn out a little — you can crop or darken it later.
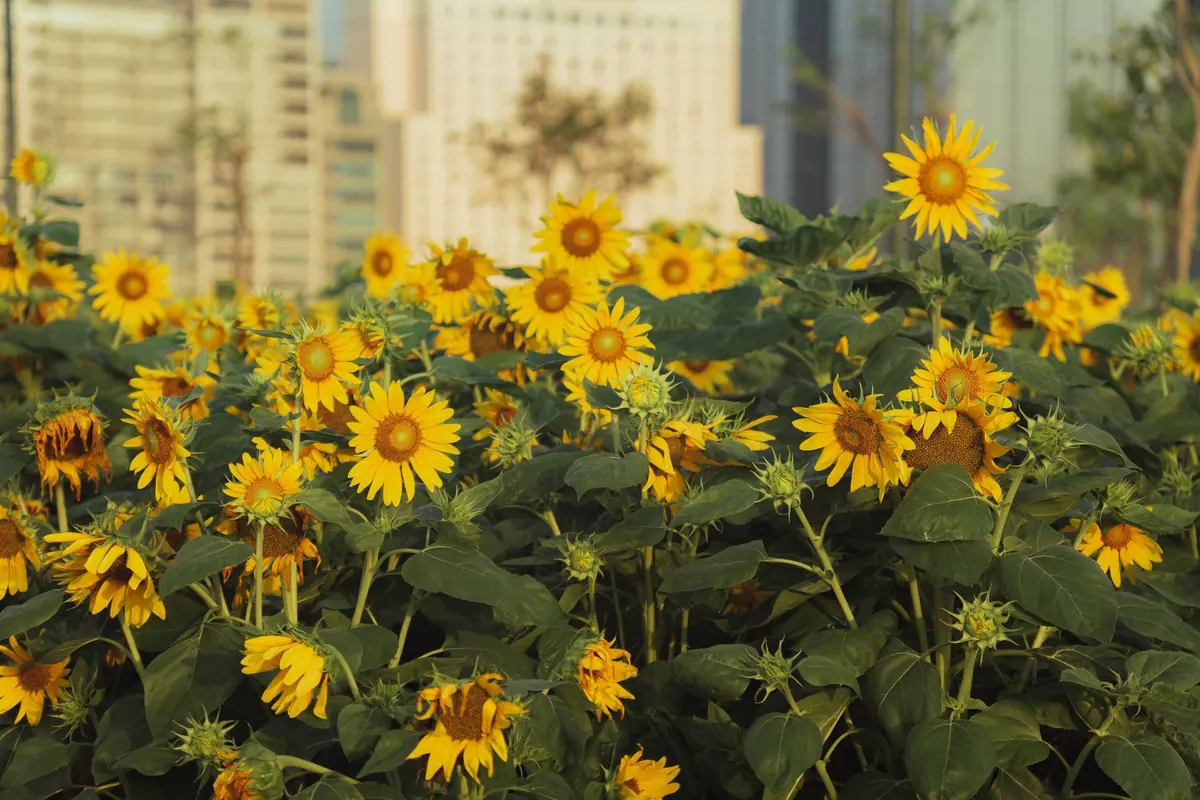
Most people photograph sunflowers from standing height, looking down. That angle flattens the flower and puts the bare soil behind it. Kneel, or sit, or lie on your back if the field is dry enough. Getting level with a head puts sky or distant foliage behind it and instantly gives the image air.
A few approaches that reliably work:
Leave some empty space. A head placed dead centre with nothing around it feels static; pushed to one side with sky or field to breathe into, it feels intentional. And resist the urge to fill every corner — a little restraint reads as confidence.
Sunflower fields catch every breeze, and a head on a long stem sways far more than you expect. If the shutter speed has dropped below about 1/250 second, wait for the lull rather than fighting it — there is usually a rhythm of a second or two. Bracing the camera against your knee, or resting it on a bag, is more effective than raising ISO further.
Bees are a gift. When one lands, hold your position and shoot a short burst; the insect gives the frame a focal point and a sense of scale. Focus on the bee's back rather than the centre of the flower, and use a faster shutter than you think you need.
Two pieces of gear are worth the weight: a lens hood, because low sun causes flare from angles you don't notice in the viewfinder, and a cleaning cloth, because sunflower pollen is sticky and finds the front element. A polariser can deepen the sky, but rotate it carefully — at sunset it can also strip the warm glow from the petals.
Golden hour files rarely need much. Bring down the highlights to recover petal detail, lift the shadows slightly so the shaded face isn't a black hole, and add a touch of contrast. Push the temperature slider gently: the light is already warm, and adding more usually produces an orange cast that loses the yellow-green of the leaves. If the sky looks washed out, a graduated adjustment on the upper third is enough.
Arrive about forty minutes before the light turns, so you can walk the field and find your blooms without rushing. Battery charged, card formatted, lens hood on. Set aperture priority, ISO 200, single-point focus, spot metering, and exposure compensation at minus two-thirds of a stop as your baseline. Kneel low, shoot into the light for glow and with the light for detail, and check the histogram after the first few frames rather than after fifty. Stay ten minutes past sunset — the sky often gives its best colour after the sun has gone. Then put the camera down for a moment and watch the field go dark. That part is worth the trip on its own.
Photo: mploscar / Pixabay
Previous Post
Why Sunflowers Turn Their Heads: Heliotropism Explained for Curious Gardeners
Next Post
Sunset Color Checklist: 12 Signs of an Unforgettable Sky